I mentioned in my last post I've been a bit busy - now you'll get to see why.
Let me preface this by saying I have the
BEST. FAMILY. EVER. This project would NEVER have been completed without Uncle Pat, my mom and dad, and my grandfather - not to mention my grandmother, who graciously fed us for 5 nights in a row since the kitchen was, as you'll see, decidedly NOT functional.
The house I live in is 35 years old, and my family has owned it since I was in the 6th grade. I moved in when my parents moved to New Mexico about 10 years ago, and it's been quite an adventure. The house is, shall we say...OLD.
As we all know, when things get old, they tend to fall apart. This house is no exception.
This particular journey began when a leak from the upstairs bathroom was discovered. How was it discovered, you ask? Well, the big water stain forming on the dining room ceiling - plus the hole it was creating - was a big clue. The leak got fixed and my parents were able to claim the extensive damage on their insurance.
A few weeks and $5,000 later, the project began.
This project was actually 2 parts - we had to repair damage to the upstairs bathroom, bedroom and hallway first, and
that was started and mostly completed in about 5 days in November, over Thanksgiving week. I don't have many photos of that one, unfortunately, because I just didn't think of it.
My parents came down from New Mexico for Christmas, and work started on the 26th.
No rest for the wicked! This time I remembered to take pics from beginning to end, which I will now share with you. Hang on to your hats!
BEFORE
 |
| Packing everything way (except the dog) |
 |
| Note the outdated "butcher block" countertop |
 |
| This bar/half-wall is going away |
 |
| Yes, that is an entire cupboard wasted to make room for the microwave |
 |
| Very limited counter and storage space |
 |
| Uh oh - we've got the duct tape out! |
DEMO BEGINS
Demolition is fun, but a little scary.
Once you begin destroying something, there's no going back. It also gets pretty messy!
 |
| Bar top removed, trying to get the half wall loose |
 |
| Got the wall loose, making sure no important wires are being pulled out |
 |
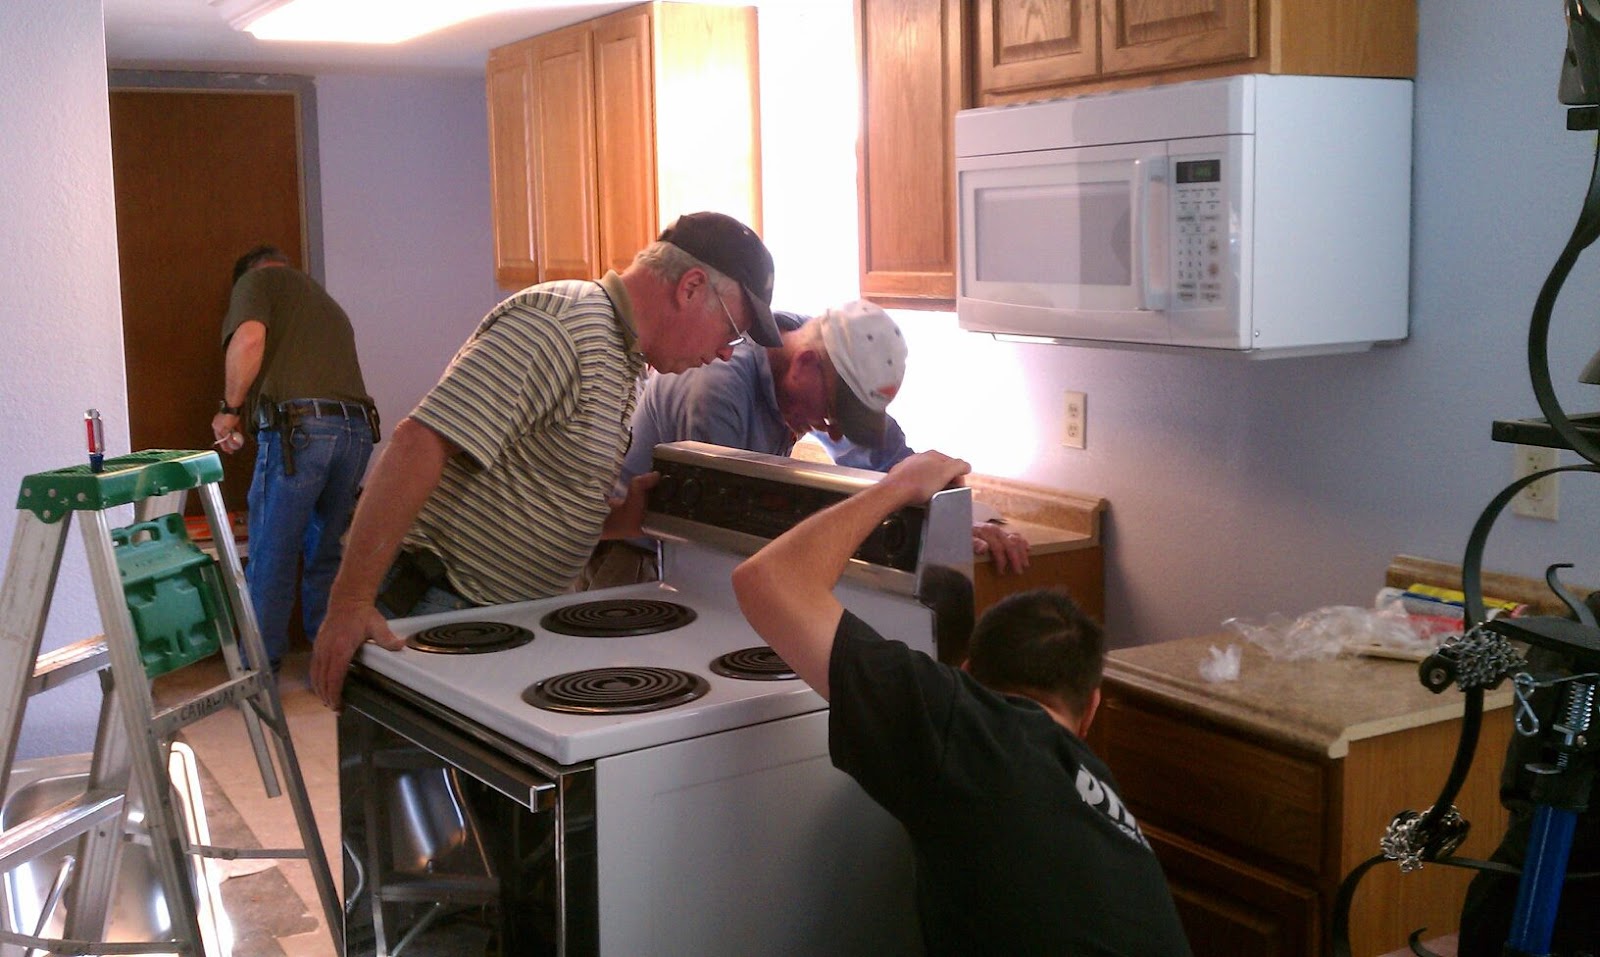
| Wall gone, moving stove |
 |
| Dad and Uncle Pat figuring out how to remove the plumbing |
 |
| Bottom cabinets gone! |
 |
| Removing top cabinets |
 |
| Removing more top cabinets |
 |
| Opening up the ceiling to assess the water damage |
 |
| More holes in the ceiling |
 |
| Found a lot of interesting problems once the ceiling was opened up |
Once the demolition started and the drywall was pulled off the ceiling, they were able to inspect the water damage from upstairs. It became clear, as the ceiling was coming down, that we'd had a significant rat problem -
so many rat pellets fell from the ceiling that it was all I could do to stay in the room. I became a compulsive sweeper and followed everyone around with a broom and dustpan (until the Shop Vac arrived, then NO ONE was safe). The highlight came when a
DEAD RAT (yes, you read that right) fell out of the last bit of ceiling that was pulled down.
YUCKY!!!!!!!
And no, I didn't take pics of it.
It was just too gross for words. Luckily, it had been dead a while so it didn't smell too bad...but still....
There wasn't much I could do while the guys were busy fixing things except
frantically sweep and vacuum the floor, so I did that with a vengeance. My poor dogs were stuck upstairs for most of the day while all this was going on, so I went up to check on them periodically. Luckily the weather was pretty nice so, once they got to a point where they (and by "they" I mean Bailey) started getting bored and destructive, I was able to leave them outside for most of the day.
More on Bailey's...er...deconstruction later.
The hole created by the upstairs leak, which was actually in a corner of the dining room, had to be patched, so we decided to strip the popcorn crap off the ceiling and smooth it out to make the repair easier. Finally, something I could do!
I spent a lot of time up on a ladder scraping the ceiling smooth and getting it ready for painting. The guys installed all the new drywall and did the taping and floating to get ready for spraying the texture on the walls and ceiling.
PREPPING FOR PAINTING AND STUFF
 |
| Protecting stuff from the wet plaster slime from the ceiling |
 |
| Popcorn-free ceiling - note the hole from the water leak in the upper left corner |
 |
| Tape and float |
 |
| Waiting for everything to dry |
 |
| Sanding the walls and ceiling smooth |
 |
| Protecting the rest of the house from the texture spray |
 |
| Bye bye, 70s kitchen! |
 |
| Living room turned into a storage room - no, I'm NOT storing my mom there! |
PAINTING
Once all the texture was sprayed and dry, we started painting:
 |
| Mom and Dad painting |
 |
| The view from my roller |
 |
| Niece Avery helping clean popcorn slime off the walls |
 |
| Painting the ceiling |
Once the painting was done, the guys started working on installing the new cabinets. There were many issues to be dealt with, but the biggest issue is that
THE FREAKING HOUSE IS CROOKED. It's unbelievable to me what shoddy work the builders did on this house. After many ingenious adjustments and solutions, the cabinets were finally leveled and installed.
The new countertop also proved to be a challenge - again, because the house is not even remotely level.
By this point, we were literally racing against the clock. My parents had to leave on Friday, and they were determined not to leave until everything was installed and working properly.
Thankfully, everyone pitched in and, with the exception of a few minor details, almost everything got finished:
 |
| This is going to be easy, right? |
 |
| Crap. The house is crooked! |
 |
| Figuring out how to make it work |
 |
| Notice the shim on the end of the top cabinet. Yup. Lots of shimming happening here. |
 |
| The gorgeous new countertop |
 |
| Um...will it fit?? |
 |
| Installing the new kitchen fixtures |
 |
| Things are looking good! |
Needless to say, this was QUITE a learning experience.
I am so blessed to have a family of handymen and women who can work miracles like this. The most amazing thing is that we did this in
FIVE DAYS. I still have to pull up the old tile and install new stuff, but that's going to be easy enough now that everything else is done.
Here are some shots of the finished project (before it gets cluttered with our kitchen stuff):
Pretty amazing, huh?
It's incredible how much it opens up the downstairs area! As you can see, the flooring needs to be done (working on it!), and we're going to get a rolling island/breakfast table to add more counter space. I will definitely post more pics once everything is completely finished.
It was a hard five days, but I'm so grateful to my family for being willing to give their time and talent to help get everything finished. I'm also glad I was on Christmas break during all of this so I could help, too!
 |
| An amazing transformation! |